
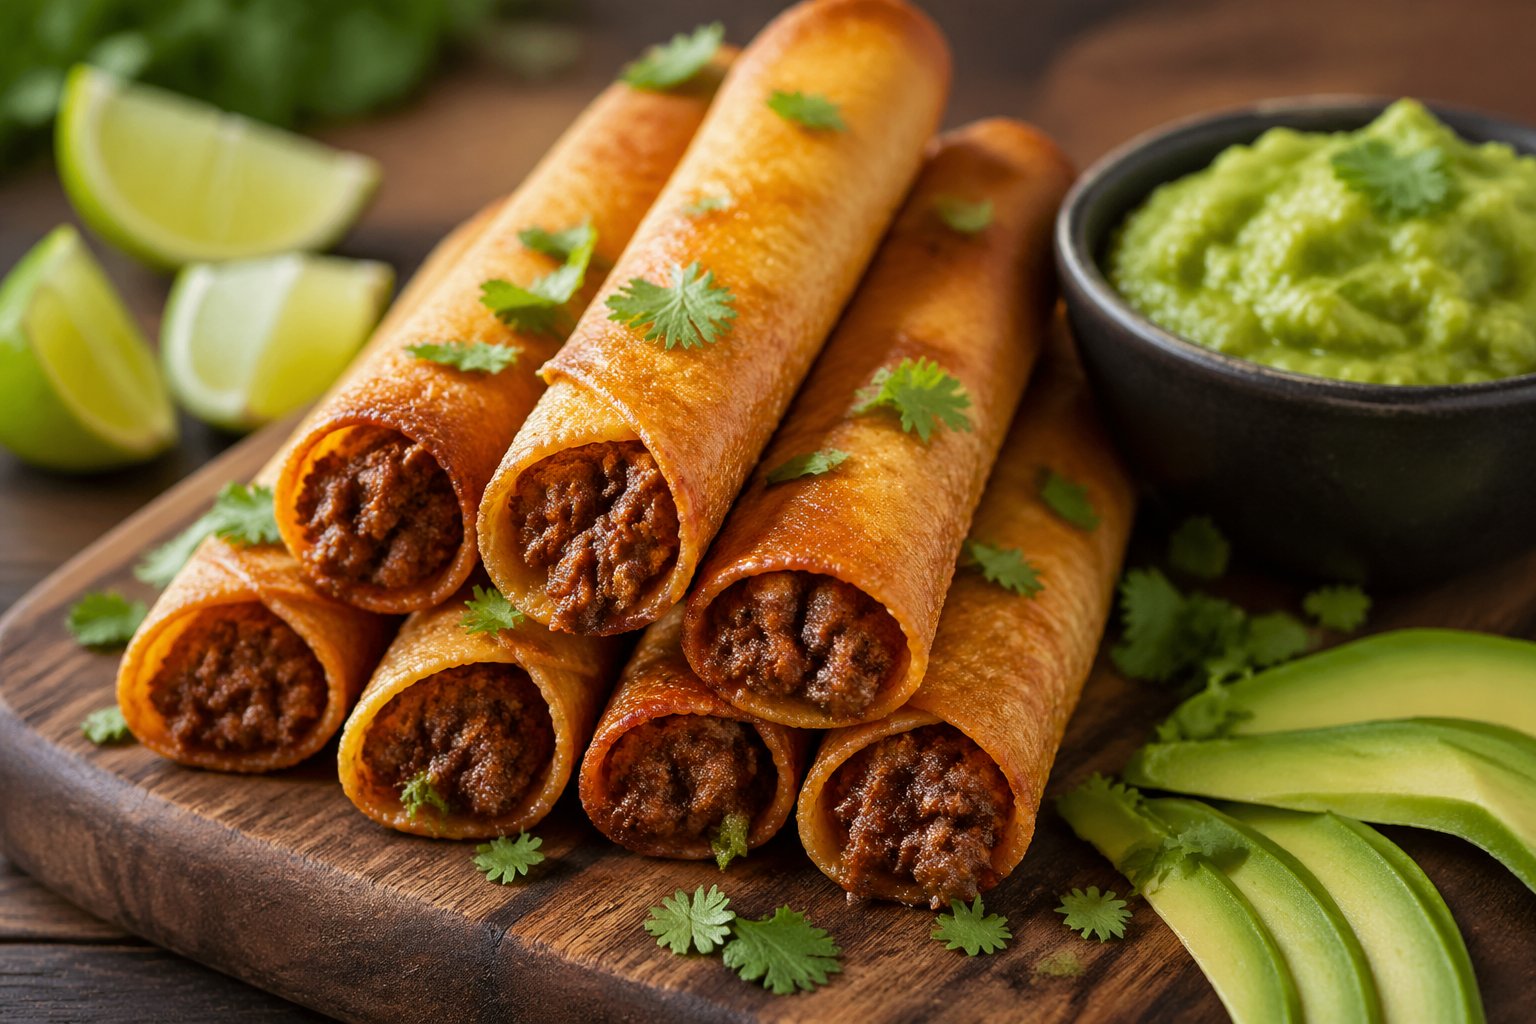
If you love Mexican food but follow a low-carb diet, you are in luck today. This Crispy Keto Beef Taquitos Recipe is the ultimate game-changer for your snack rotation.
Most taquitos use corn tortillas, but we use cheese to keep things keto-friendly. These are crunchy, cheesy, and packed with seasoned beef.
Learning how to make Crispy Keto Beef Taquitos Recipe at home is surprisingly easy and very satisfying. You won’t even miss the extra carbs!
What Makes This Crispy Keto Beef Taquitos Special
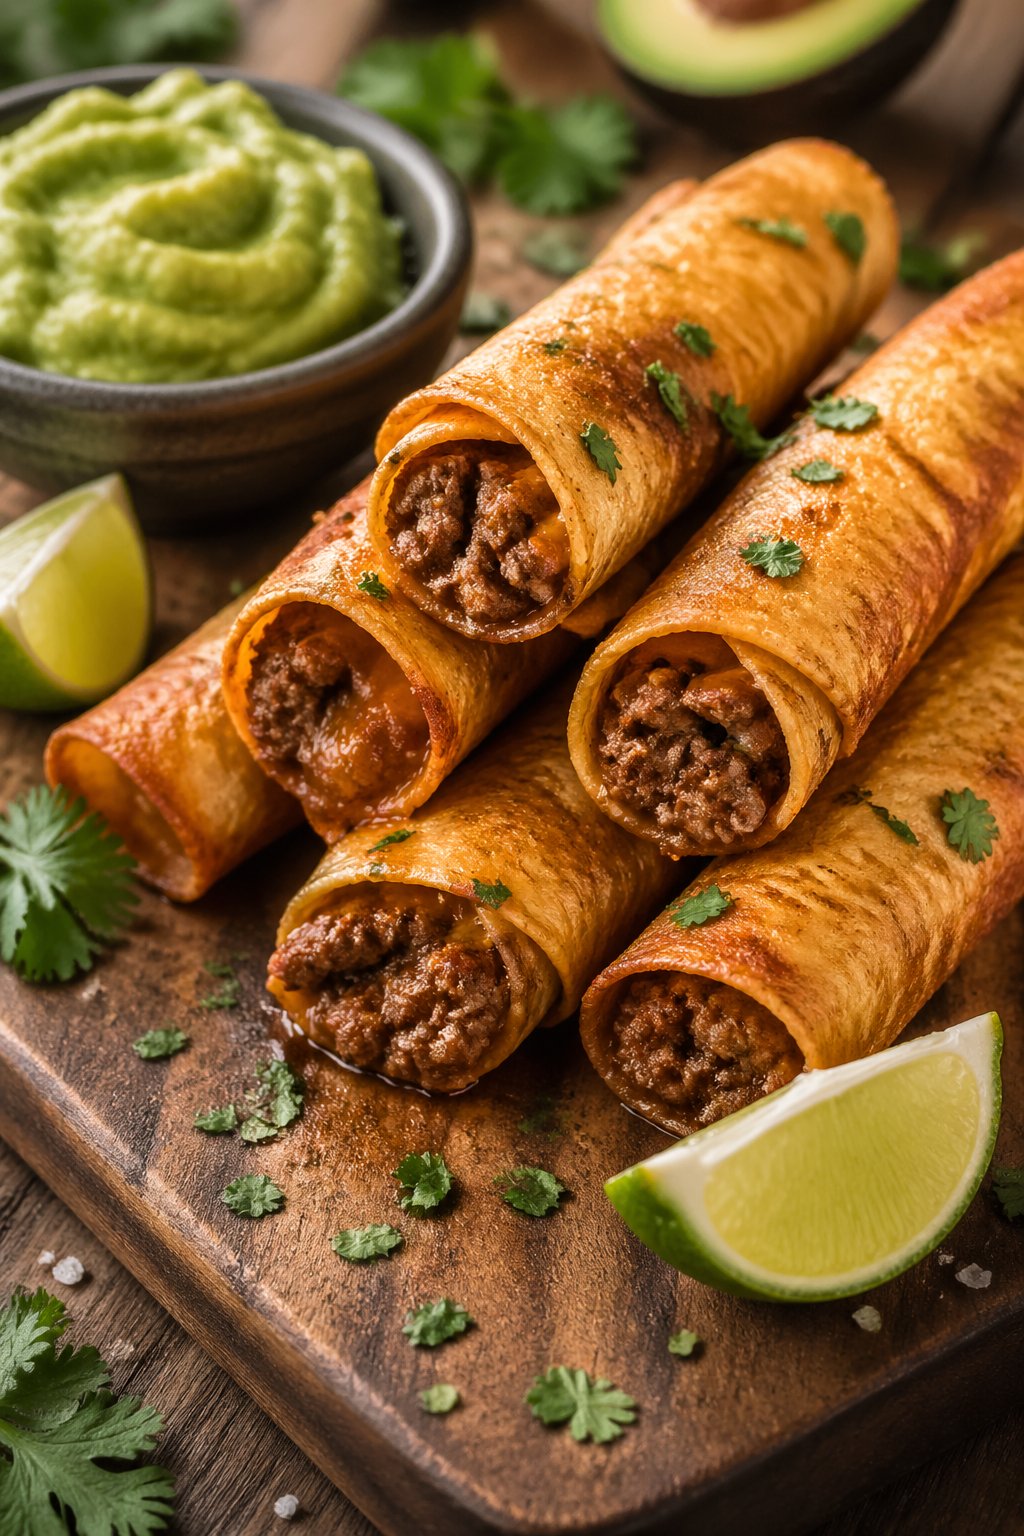
The secret to this recipe is the “tortilla” made entirely of baked cheese. It gets incredibly crispy and holds the savory beef filling perfectly.
Unlike frozen snacks, these use fresh ingredients for a much better taste. They are high in protein and healthy fats, which keeps you full for longer.
Plus, they look impressive but take very little effort to assemble. Whether it’s game day or a busy Tuesday, these taquitos always hit the spot.
Equipment List
- Large non-stick skillet
- Baking sheet
- Parchment paper or silicone mat
- Spatula
- Small mixing bowl
- Measuring spoons
Recipe Overview
- Recipe Name: Crispy Keto Beef Taquitos
- Servings: 4
- Prep Time: 10 mins
- Cook Time: 20 mins
- Total Time: 30 mins
- Course: Appetizer / Main Course
- Cuisine: Mexican-Inspired
- Calories: 320 kcal per serving
Ingredients You Need for Crispy Keto Beef Taquitos Recipe
- 1 lb Ground beef (lean or 80/20 works great)
- 2 cups Shredded Mexican blend cheese or Mozzarella
- 1 tbsp Olive oil
- 1 tbsp Taco seasoning (sugar-free for keto)
- 1/4 cup Finely chopped onion
- 1 clove Garlic, minced
- 1/4 cup Chopped cilantro for garnish
- Salt and pepper to taste
Step-by-Step Guide
1. Sauté the Aromatics
Heat olive oil in your skillet over medium heat. Add the chopped onions and garlic. Stir them frequently until they become soft and fragrant. This creates a flavor base for your beef.
2. Brown the Beef
Add the ground beef to the skillet. Break it apart with your spatula while it cooks. Continue cooking until no pink remains. Drain any excess fat to keep the taquitos crispy.
3. Season the Filling
Sprinkle the taco seasoning over the cooked beef. Add a splash of water if the meat looks too dry. Stir well to coat every piece of meat. Season with salt and pepper.
4. Prepare the Cheese Shells
Preheat your oven to 400°F. Line a baking sheet with parchment paper. Place small piles of shredded cheese on the paper. Space them about two inches apart to allow spreading.
5. Bake the Cheese
Place the baking sheet in the oven for about 5 to 7 minutes. Watch for the edges to turn golden brown. The cheese should be bubbly and slightly firm but still flexible.
6. Add the Beef Filling
Remove the tray from the oven. Let the cheese cool for thirty seconds. Place a spoonful of beef along the center of each cheese circle. Work quickly before the cheese hardens.
7. Roll the Taquitos
Lift the edge of the cheese circle using a spatula. Carefully roll the cheese over the beef filling. Press the seam down to seal it. Repeat this for all the cheese circles.
8. Let Them Set
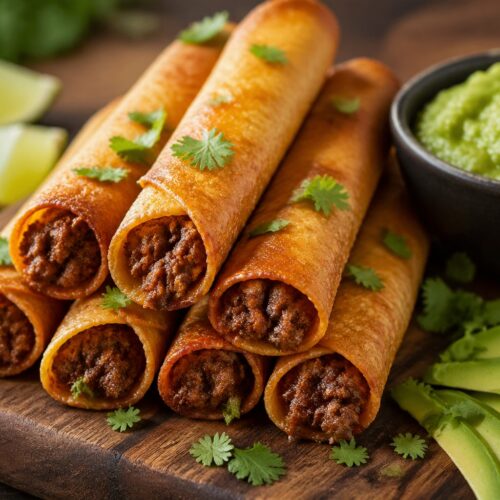
Allow the taquitos to rest for three minutes. This resting time helps the cheese shells become crunchy and firm. Transfer them to a serving plate and garnish with fresh cilantro.
Expert Tips & Variations
- Extra Spice: Mix some chopped jalapeños into the beef for a spicy kick.
- Cheese Choice: Sharp cheddar makes a very crispy shell with a bold flavor.
- Don’t Overfill: Too much meat will make the cheese shells hard to roll.
- Use High Heat: Ensure your oven is hot so the cheese crisps rather than melts into a puddle.
- Dairy-Free: You can try vegan keto cheese, but results may vary in crispness.
Interesting Facts About Crispy Keto Beef Taquitos
The word “taquito” literally means “small taco” in Spanish. Traditionally, they are deep-fried to achieve a crunchy texture. In this keto version, we use the natural oils in the cheese to fry the “shell.”
It is a clever way to enjoy Mexican flavors without using flour or corn. Many people call them “rolled tacos” depending on where they live. They became popular in California during the early 20th century.
Perfect Dishes to Serve With Crispy Keto Beef Taquitos
These taquitos are delicious on their own, but sides make them a meal. A bowl of fresh guacamole is the perfect dip for these crunchy treats.
You can also serve them with a side of cauliflower rice seasoned with lime. Sour cream and sugar-free salsa provide a cool contrast to the warm beef.
A simple green salad with avocado dressing keeps the meal light. For extra indulgence, try a keto-friendly cheese dip on the side.
Storage and Reheating Tips
- Fridge: Store leftovers in an airtight container for up to three days.
- Freezer: You can freeze cooked taquitos for up to one month in a freezer bag.
- Oven Reheating: Place them in the oven at 350°F until they get crispy again.
- Air Fryer: Reheat at 370°F for 3 minutes for the best “just-cooked” texture.
- Avoid Microwave: Using a microwave will make the cheese shells soft and greasy.
Nutrition Information
| Nutrient | Amount Per Serving |
| Calories | 320 kcal |
| Total Fat | 24g |
| Net Carbs | 3g |
| Protein | 22g |
| Fiber | 1g |
Health Benefits
This recipe is excellent for anyone following a low-carb or ketogenic lifestyle. It provides high amounts of protein which supports muscle health and keeps you full.
Because we use real cheese and beef, you get plenty of calcium and iron. This meal is naturally gluten-free, making it safe for those with gluten sensitivities.
By making these at home, you avoid the processed oils found in restaurant deep-fryers. It is a wholesome way to satisfy cravings while staying in ketosis.
FAQs about Crispy Keto Beef Taquitos Recipe
Can I use chicken instead of beef for these taquitos?
Yes, shredded chicken works perfectly for this recipe. Just season the cooked chicken with the same taco spices. Ensure the chicken is finely shredded so the taquitos roll easily.
Why did my cheese shells stick to the parchment paper?
Make sure you use high-quality parchment paper or a silicone baking mat. If the cheese is too oily, let it cool slightly before lifting. Never use aluminum foil without grease, or it will stick.
How do I keep the taquitos from unrolling?
The trick is the timing. Roll the cheese while it is still warm and pliable. Once you roll them, place them seam-side down on the plate. They will “glue” shut as they cool.
Are these taquitos actually crispy?
Yes, they are very crunchy! When the baked cheese cools down, it hardens into a crisp shell. It mimics the texture of a fried corn tortilla surprisingly well.
Final Thoughts
I hope you enjoy this Crispy Keto Beef Taquitos Recipe as much as I do. They are the perfect solution for your Mexican food cravings.
Fast, easy, and totally delicious! Give them a try tonight and share them with your family. Happy cooking and stay healthy!
Crispy Keto Beef Taquitos Recipe
Ingredients
- 1 lb Ground beef lean or 80/20 works great
- 2 cups Shredded Mexican blend cheese or Mozzarella
- 1 tbsp Olive oil
- 1 tbsp Taco seasoning sugar-free for keto
- 1/4 cup Finely chopped onion
- 1 clove Garlic minced
- 1/4 cup Chopped cilantro for garnish
- Salt and pepper to taste
Instructions
Sauté the Aromatics
- Heat olive oil in your skillet over medium heat. Add the chopped onions and garlic. Stir them frequently until they become soft and fragrant. This creates a flavor base for your beef.
Brown the Beef
- Add the ground beef to the skillet. Break it apart with your spatula while it cooks. Continue cooking until no pink remains. Drain any excess fat to keep the taquitos crispy.
Season the Filling
- Sprinkle the taco seasoning over the cooked beef. Add a splash of water if the meat looks too dry. Stir well to coat every piece of meat. Season with salt and pepper.
Prepare the Cheese Shells
- Preheat your oven to 400°F. Line a baking sheet with parchment paper. Place small piles of shredded cheese on the paper. Space them about two inches apart to allow spreading.
Bake the Cheese
- Place the baking sheet in the oven for about 5 to 7 minutes. Watch for the edges to turn golden brown. The cheese should be bubbly and slightly firm but still flexible.
Add the Beef Filling
- Remove the tray from the oven. Let the cheese cool for thirty seconds. Place a spoonful of beef along the center of each cheese circle. Work quickly before the cheese hardens.
Roll the Taquitos
- Lift the edge of the cheese circle using a spatula. Carefully roll the cheese over the beef filling. Press the seam down to seal it. Repeat this for all the cheese circles.
Let Them Set
- Allow the taquitos to rest for three minutes. This resting time helps the cheese shells become crunchy and firm. Transfer them to a serving plate and garnish with fresh cilantro.
Notes
- Extra Spice: Mix some chopped jalapeños into the beef for a spicy kick.
- Cheese Choice: Sharp cheddar makes a very crispy shell with a bold flavor.
- Don’t Overfill: Too much meat will make the cheese shells hard to roll.
- Use High Heat: Ensure your oven is hot so the cheese crisps rather than melts into a puddle.
- Dairy-Free: You can try vegan keto cheese, but results may vary in crispness.